Learn how to safely remove earwax using hydrogen peroxide. Dr. Mandell shares tips on how to prevent ear pain, tinnitus, and hearing loss caused by improper earwax removal.
Introduction: A Simple Way to Safely Remove Earwax 👂✨
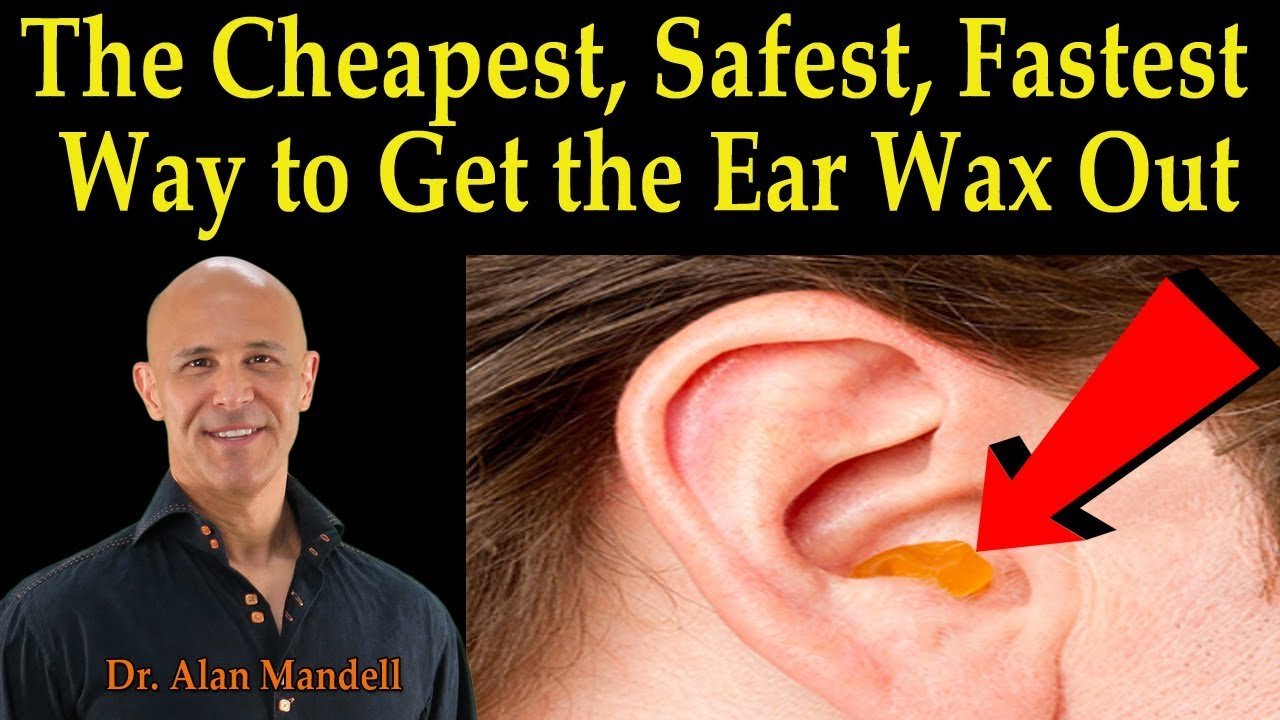
Hello everyone, Dr. Mandell here, and I have something important to share with you today about earwax removal. Many of us have faced earwax buildup, leading to discomfort, hearing problems, and even painful symptoms. However, did you know that the way you remove earwax is just as important as the actual removal itself?
In this article, we’ll dive into one of the safest, simplest, and cheapest ways to remove earwax—using hydrogen peroxide. I’m going to share my experience, along with expert advice, so you can do it safely and avoid causing harm to your ear health.
The Danger of Using Q-Tips for Earwax Removal 🚫🧻
One of the most common ways people try to remove earwax is by using Q-tips. But here’s the problem: when you push a Q-tip into your ear, you risk impacting the wax deeper into the ear canal, possibly even up against the eardrum. As Dr. Mandell mentions, this can lead to a number of issues, including:
- Tinnitus (ringing in the ears) 🎶
- Ear Pain 😖
- Headaches 💥
- Vertigo (dizziness and loss of balance) 🌪️
- Hearing Loss 🦻
In severe cases, if the earwax is forced against the eardrum, it can even perforate the eardrum, leading to long-term problems and even infections. That’s why I strongly advise against using Q-tips for earwax removal! Instead, let’s explore safer, more effective options.
The Hydrogen Peroxide Method: A Safe and Easy Solution 🧴💧
Now, let’s focus on a safe and effective method that can help you clean your ears: hydrogen peroxide. This simple technique was recommended by Dr. Kim, a specialist at the Mount Sinai Hospital in New York, and it’s a great home remedy for earwax removal.
Dr. Mandell recommends using hydrogen peroxide to help emulsify (liquefy) the earwax, making it easier to flush out. Here’s how you can do it:
Step-by-Step Guide: How to Use Hydrogen Peroxide for Earwax Removal 💡
- What You’ll Need 🧴
- Hydrogen Peroxide (3% concentration)
- Dropper (to administer the peroxide)
- Warm Water 💧
- Mineral Oil (optional for itchiness)
- A Sink or Towel (to catch any dripping fluid)
- How to Use It:
- Step 1: Preparation – First, make sure the hydrogen peroxide is at a safe concentration (usually 3%). Never use high concentrations, as they may irritate the ear canal.
- Step 2: Apply the Drops – Using the dropper, apply a few drops of hydrogen peroxide into your ear. Tilt your head to the side so that the liquid stays inside the ear canal.
- Step 3: Wait for 10 Minutes ⏱️ – Allow the hydrogen peroxide to work its magic. During this time, the peroxide will bubble and fizz as it breaks down the earwax.
- Step 4: Shower Time 🚿 – After 10 minutes, go ahead and rinse your ear gently while showering. The water will help flush the earwax out. It’s best to do this before or during your shower to let the water help clear out the softened wax.
- Dealing with Itchy Ears 😖
- If your ears are itching after the peroxide treatment, Dr. Mandell suggests using a drop of mineral oil in the ear. This can be done daily if necessary, and it helps to moisturize and relieve itching.
Alternative Method: The Syringe and Peroxide Solution 🌊🧴
For those who prefer a more manual approach, Dr. Mandell also recommends using a syringe to flush out the earwax. Here’s how it works:
- Create a Peroxide Solution 🧴: Mix equal parts warm water and hydrogen peroxide.
- Fill the Syringe 💦: Fill the syringe with the solution.
- Apply to the Ear 👂: Gently squeeze the solution into the ear while tilting your head over a sink. Be careful not to use cold water, as it can cause dizziness and vertigo.
- Flush the Ear 🚿: Let the solution sit for a moment and then tilt your head to allow the solution to drain out along with the loosened wax.
Note: While this method can work, Dr. Mandell cautions that you should avoid pushing the water underneath the wax, as it can lead to bacteria growth and potential infections. Always make sure the water is at a comfortable, warm temperature.
When Not to Use These Methods 🛑⚠️
While hydrogen peroxide and syringes can be highly effective for most people, there are some important precautions to keep in mind:
- Do Not Use If You Have a Perforated Eardrum 🛑
- If you have a history of ear problems, such as a perforated eardrum or frequent middle ear infections, it’s important to consult with a doctor before attempting any earwax removal.
- Consult Your Doctor 👨⚕️
- If you experience pain or discomfort while performing these techniques, stop immediately and seek medical advice.
Benefits of Hydrogen Peroxide for Ear Health 🌟
Using hydrogen peroxide as part of your ear care routine offers several benefits:
- Safe Ear Cleaning: It effectively liquefies earwax, making it easier to remove.
- Prevents Ear Infections: Regular cleaning prevents the buildup of bacteria, which can cause infections.
- Reduces Tinnitus: By removing excess wax, you may experience a reduction in ear ringing or buzzing.
- Improves Hearing: Clean ears can help improve your hearing by removing blockages.
Conclusion: Keep Your Ears Clean and Healthy 🧴👂
As Dr. Mandell says, using hydrogen peroxide to clean your ears is one of the safest and most effective ways to remove earwax at home. It’s simple, inexpensive, and doesn’t require any specialized tools.
If you follow the steps carefully, you can keep your ears clean and avoid painful, uncomfortable symptoms like tinnitus, ear pain, and even hearing loss. Remember, always consult a doctor if you have any doubts or underlying ear problems.
Dr. Mandell’s Intro:
Dr. Alan Mandell is a renowned health expert who has helped countless individuals achieve better health through natural remedies and lifestyle changes. His approach combines the power of science and nature to improve overall well-being.
Subscribe My Channel:
Want to learn more about improving your health? Subscribe to Dr. Mandell’s YouTube Channel for more tips and techniques! 🌟